Introduction
If a dishwasher is not filling correctly or is overfilling with water, the float switch may need to be replaced. The float switch controls the water level signal that tells the dishwasher when to stop filling.
Replacing a float switch is usually a straightforward repair and can often be completed with basic tools.
What This Means
The float switch is activated when the float inside the dishwasher rises with the water level. When the float reaches a certain height, it presses a lever connected to the float switch underneath the dishwasher.
This switch then signals the dishwasher to stop filling with water.
If the switch fails electrically or becomes damaged, the dishwasher may stop filling properly or may overfill.
Tools Needed
Replacing the float switch typically requires only a few basic tools.
Common tools include:
• Screwdriver
• Multimeter (optional for confirmation testing)
• Flashlight
• Needle-nose pliers
These tools help remove the lower access panel and disconnect the switch wiring.
Step 1: Disconnect Power
Always disconnect power before working on any appliance.
You can do this by:
• Unplugging the dishwasher from the outlet
• Turning off the dishwasher circuit breaker
This prevents electrical shock while accessing internal components.
Step 2: Remove the Lower Access Panel
The float switch is located underneath the dishwasher tub.
To access it:
-
Locate the lower access panel at the bottom front of the dishwasher.
-
Remove the screws holding the panel in place.
-
Carefully pull the panel away from the dishwasher.
This exposes the internal components underneath the tub.
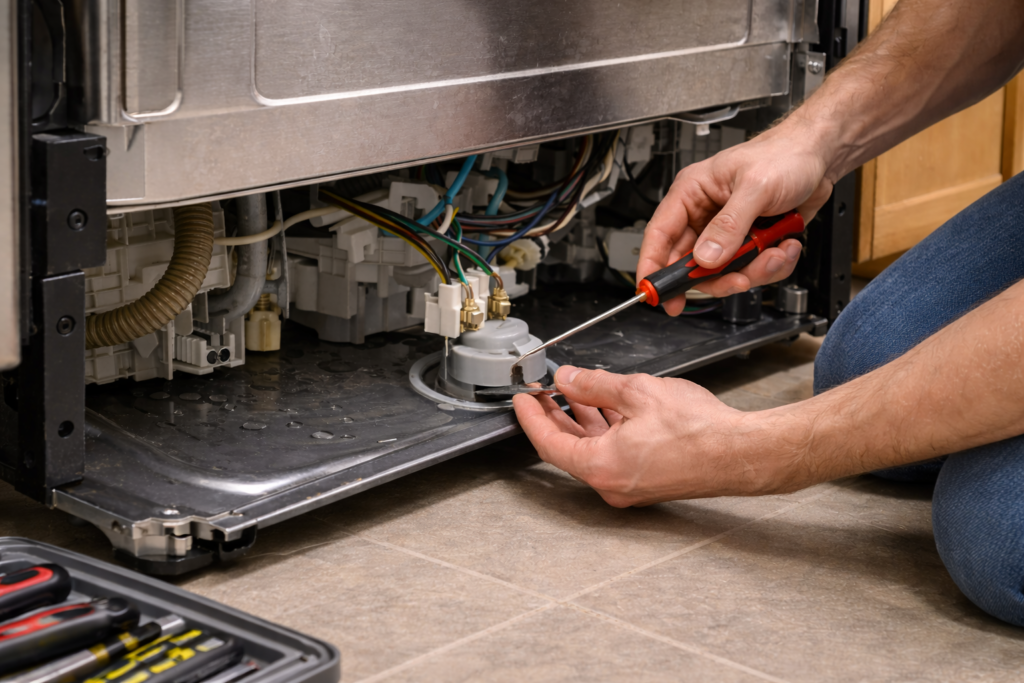
Step 3: Locate the Float Switch
The float switch sits directly below the float inside the dishwasher.
It is usually a small electrical switch with two wires attached and a small lever or actuator that responds to float movement.
Using a flashlight can help identify the component more easily.
Step 4: Disconnect the Wiring
Before removing the switch, disconnect the electrical connectors attached to the terminals.
Pull the connectors gently using pliers if needed. Avoid pulling on the wires themselves.
This separates the switch from the dishwasher wiring harness.
Step 5: Remove the Float Switch
Most float switches are held in place with either a small mounting screw or a plastic clip.
To remove the switch:
• Unscrew the mounting screw or release the clip
• Slide the switch out of position
• Note the orientation for installing the new part
Keeping track of the mounting position helps ensure proper installation.
Step 6: Install the Replacement Switch
Position the new float switch in the same orientation as the original.
Then:
• Secure it using the mounting screw or clip
• Reconnect the wiring terminals
• Confirm the switch lever moves freely when the float moves
Proper alignment ensures the float will activate the switch correctly.
Step 7: Reassemble the Dishwasher
Once the switch is installed:
-
Reattach the lower access panel.
-
Tighten the panel screws.
-
Restore electrical power to the dishwasher.
Run a short cycle to confirm the dishwasher fills and stops filling correctly.
For a full overview of symptoms, testing, location, and replacement, see the Complete Guide to Dishwasher Float Switches.
Related Guides
How to Test a Dishwasher Float Switch
How Much Does a Dishwasher Float Switch Cost?
Best Replacement Dishwasher Float Switch Options